6. Create NFT metadata
As stated earlier in the introduction, the Immutable Runner game features the fox and skins that players can unlock as NFTs.
In this section, you will:
- Host the images for these NFTs.
- Create JSON files that describe each NFT collection.
- Create a simple JSON server to store the information for each NFT.
Host NFT images on Pinata
Pinata is a service that enables users to host files on the InterPlanetary File System (IPFS) network. You can use Pinata to store NFT images, which ensures that the file's authenticity can be verified and that the file will always be publicly accessible.
You can use the NFT images we have already hosted on Pinata:
Typically, a unique image is generated for each NFT. However, for the purpose of this tutorial, we will use the same image for all fox NFTs, as well as for all skin NFTs. This simplifies the process and allows you to focus on the key steps.
If you want to host your images on Pinata, refer to the collapsible section below for instructions.
How to host images on Pinata
- Sign up for a free account with Pinata.
- Prepare an image for the fox and another for the skin.
- In the Files tab, click Upload and then File.
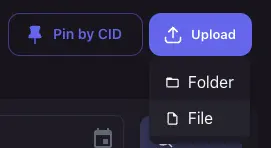
- Select the image for the fox and click Upload.
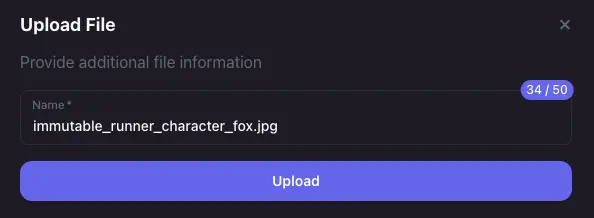
- Repeat steps 3 and 4 for the skin.

Create NFT collection JSON files
Next, you’ll need a JSON file for each NFT collection which details the name, description and image of the collection.
You can use the NFT images we have already hosted on Pinata:
If you want to host your JSON files on Pinata, refer to the collapsible section below for instructions.
How to host JSON files on Pinata
- Create two JSON files with the following format:
collection_fox.json
{
  "name": "Immutable Runner Fox",
  "description": "A collection of foxes for Immutable Runner",
  "image": "https://rose-ministerial-termite-701.mypinata.cloud/ipfs/Qmd3oT99HypRHaPfiY6JWokxADR5TzR1stgonFy1rMZAUy",
  "external_link": "https://immutable.com"
}
collection_skin.json
{
  "name": "Immutable Runner Skin",
  "description": "A collection of skins for Immutable Runner",
  "image": "https://rose-ministerial-termite-701.mypinata.cloud/ipfs/QmNZeG8wkW3mFw4PrqEj34NPA88impcvemYjhAkJAM4YcK",
  "external_link": "https://immutable.com"
}
- Save the file as collection_fox.json and collection_skin.json.
- Return to the Pinata Files tab and upload the two JSON files you created.

The fox and skin NFT collection metadata files are ready for step 7.
Create a server for hosting NFT metadata
NFTs use metadata to describe the unique properties of each token. This can include its name, description, attributes, image links, and other relevant data. All of this information is then stored in JSON files that follow a specific format.
To locate an NFT's metadata, a combination of a baseURI and the tokenID is used. This combination directs to the location of that particular NFT JSON file.
- The
baseURIis specified in a smart contract at the deployment time (will be covered in step 7). In standard collection implementations, all NFTs belonging to a collection will have the same baseURI. - The
tokenIDis generated during the minting process, and when appended to thebaseURIwill provide the unique location of an NFTs metadata.
For instance, if the fox NFT has a baseURI of https://immutable-runner.immutable.com/fox/ and an ID of 1, the metadata URL will be https://immutable-runner.immutable.com/fox/1. You can read more about this here.
In Immutable Runner, every new player is eligible to receive a unique fox NFT, and any player can also craft skin NFTs later in the game. As a result, the number of NFTs minted can increase rapidly. To simplify the process of creating metadata JSON files for each NFT, you can set up a server that automatically generates these files.
Have a look at the json-server/ folder. We've already provided a simple server code that generates the JSON metadata for the fox and skin NFTs.
Try to run the server by doing the following:
cd json-serveryarn installyarn start- Go to your browser and enter
http://localhost:3000/fox/8to see the metadata of fox NFT ID 8. - Enter
http://localhost:3000/skin/2to see the metadata of skin NFT ID 8.
You can update the skinImageUrl and foxImageUrl defined in json-server/src/index.ts to the URL of the images you uploaded to Pinata.
Set up Render
The metadata server must be live to ensure that the NFT metadata appears in the block explorer when a new asset is minted. In this tutorial, you use Render to host the metadata server.
- Create a new repository in your GitHub account for the JSON server. You can name it
immutable-runner-json-serverand make it private. - Follow the GitHub instructions to set up the repository on your machine.
- Copy all the files and folders located in the
json-server/directory to the new repository and push your code to GitHub. - Sign up to Render.
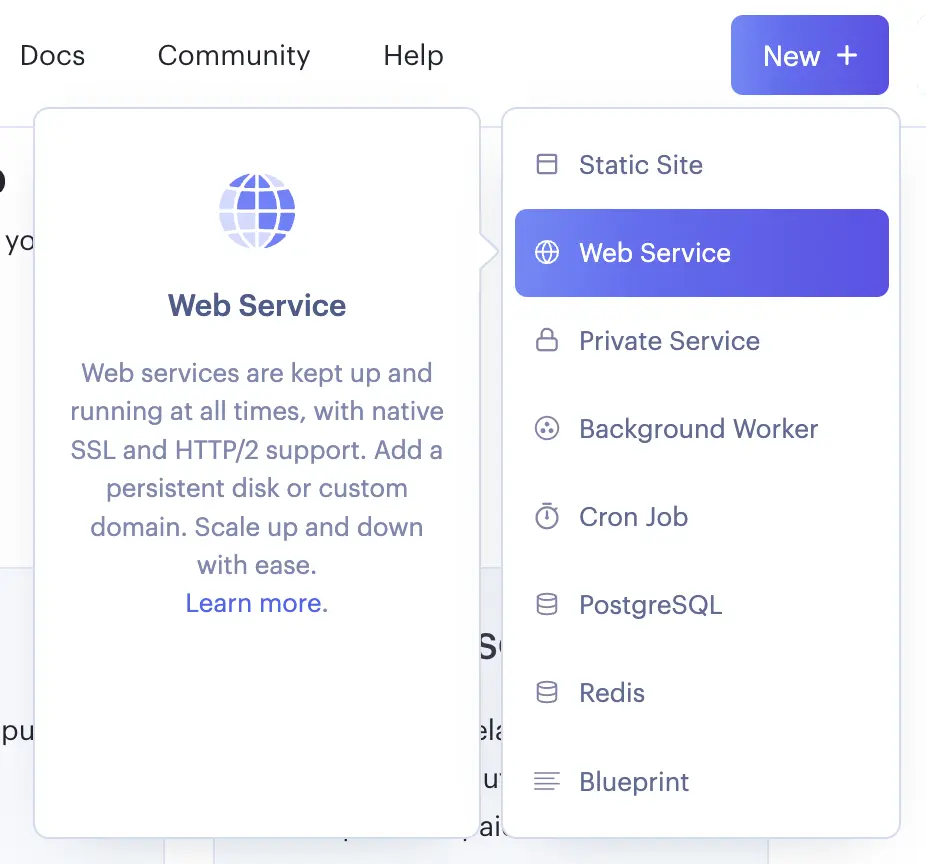
- Click New + and select Web Service.
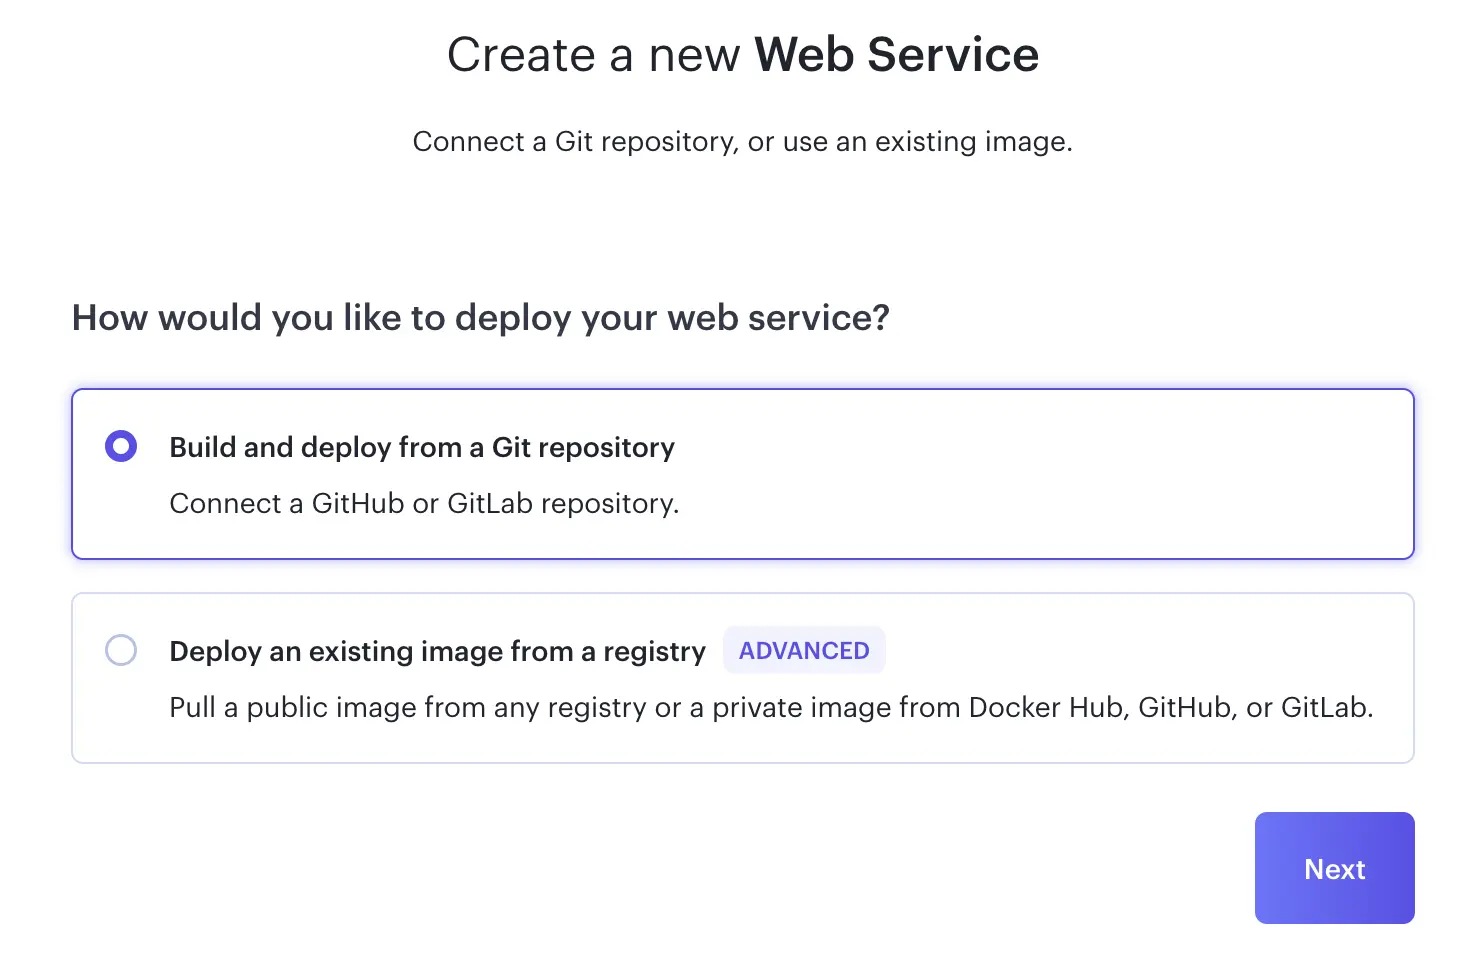
- Select Build and deploy from a Git repository.
- Connect your GitHub account.
- Connect the repository you created.
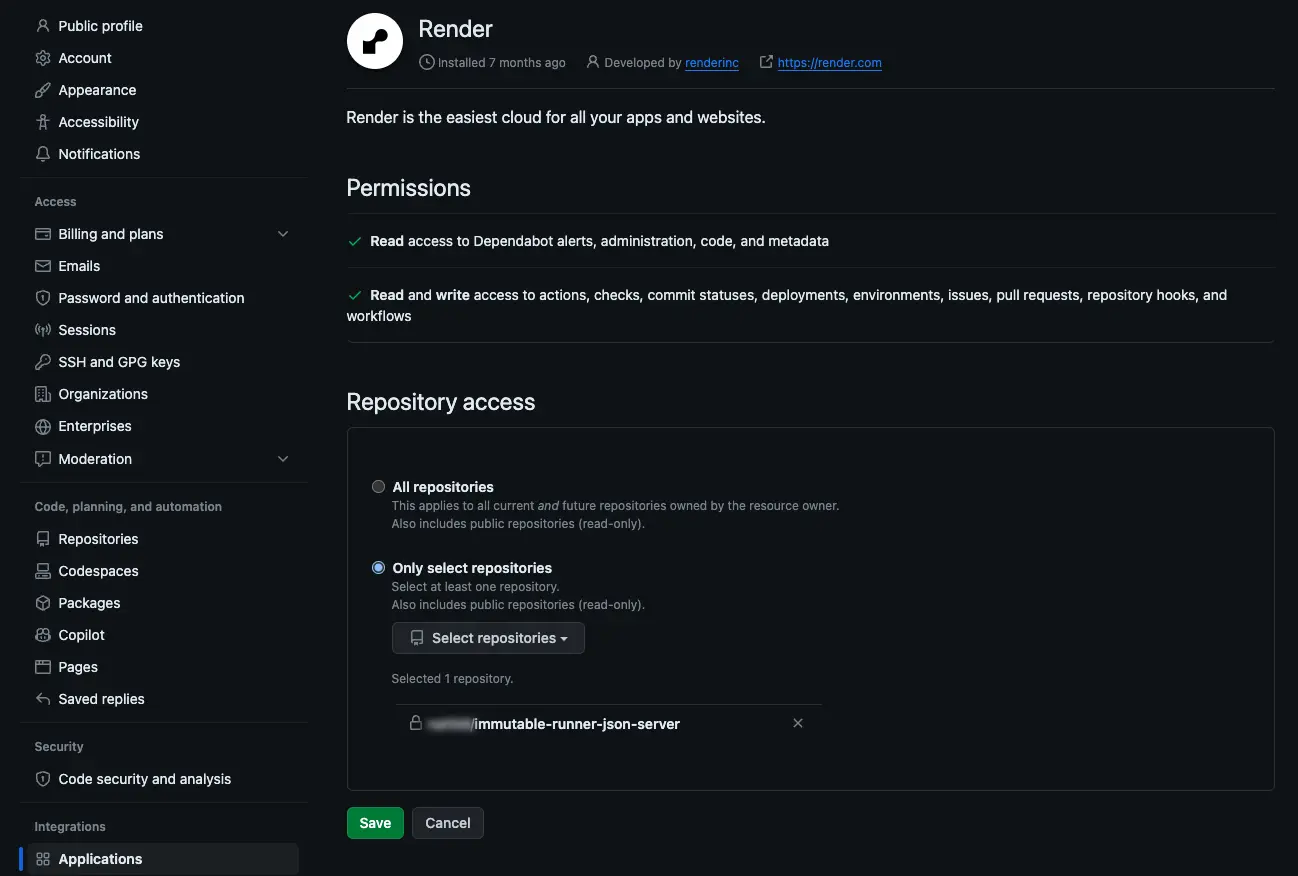
- You may need to configure your GitHub account to provide Render access to your repository.

- Select Free for the Instance Type.
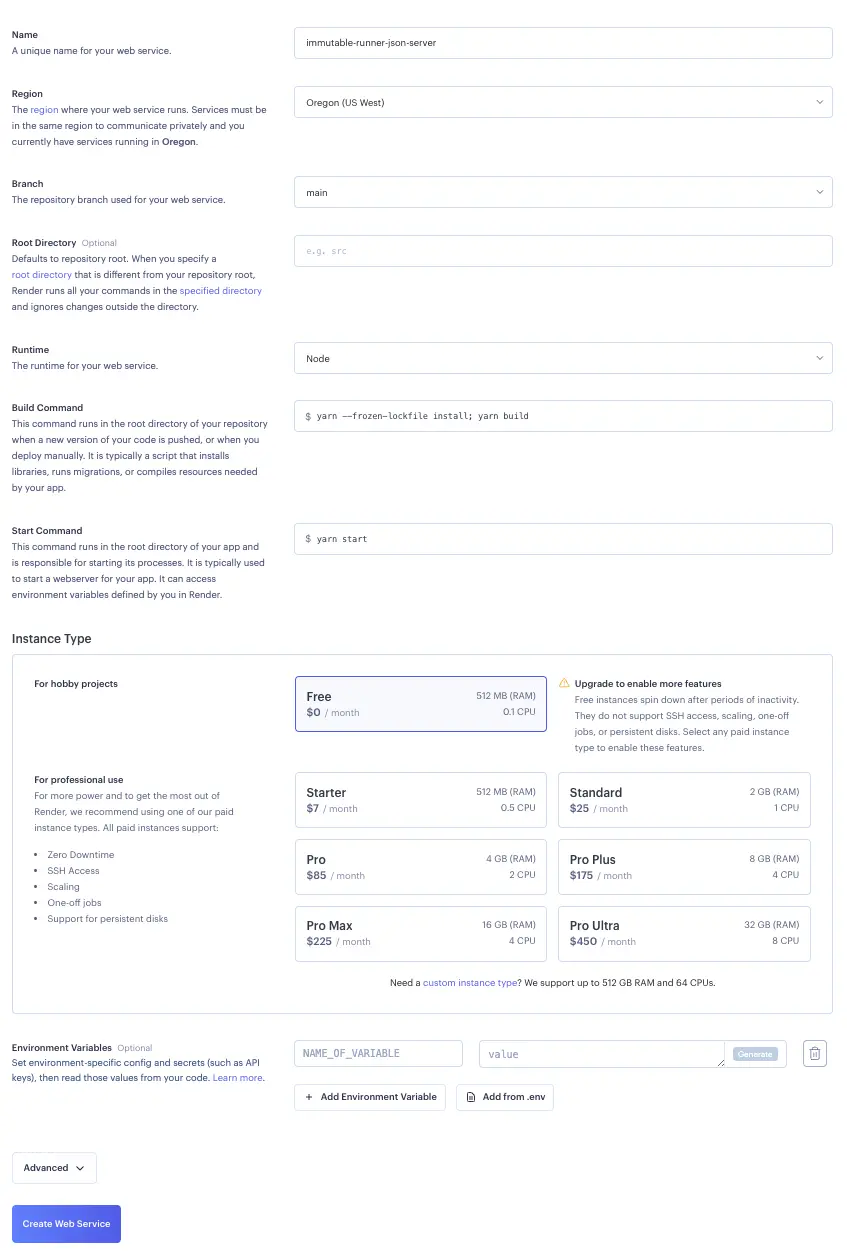
- Click Create Web Service.
- Render will deploy, build, and start your server. Once ready, you should see a live event in the Events tab.
You can now access the metadata of your NFTs by using the base URL provided in the header. such as https://immutable-runner-json-server.onrender.com/fox/10 or https://immutable-runner-json-server.onrender.com/skin/2.
This base URL will be used when you create and deploy NFT (ERC721) contracts in step 7.
